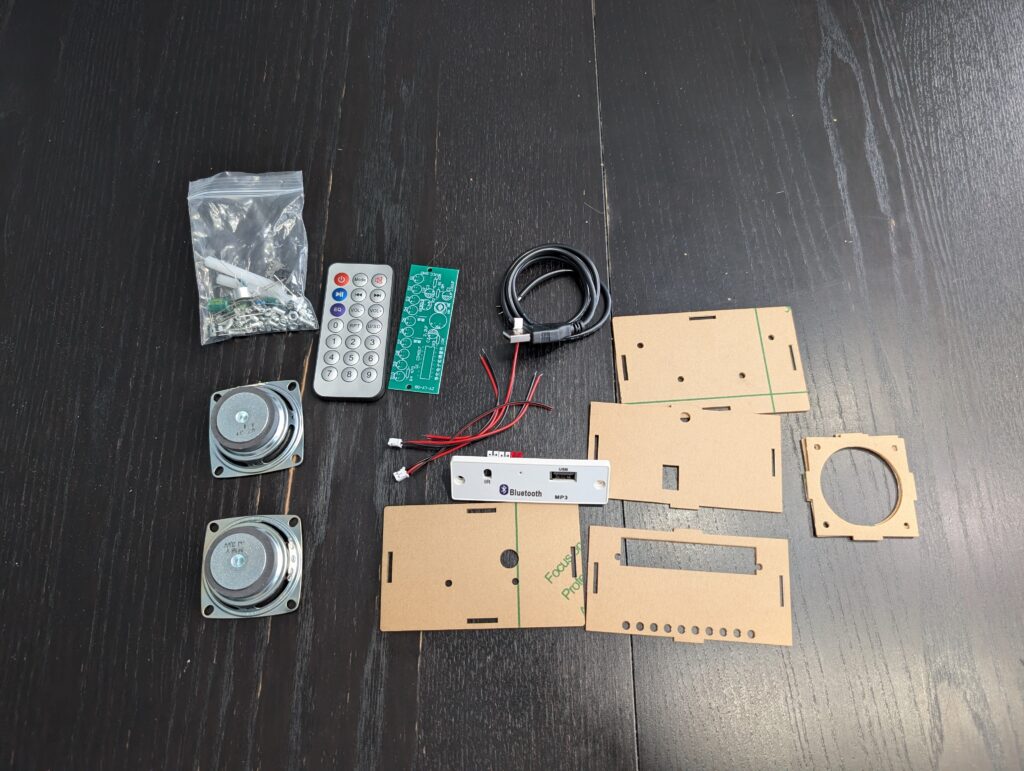
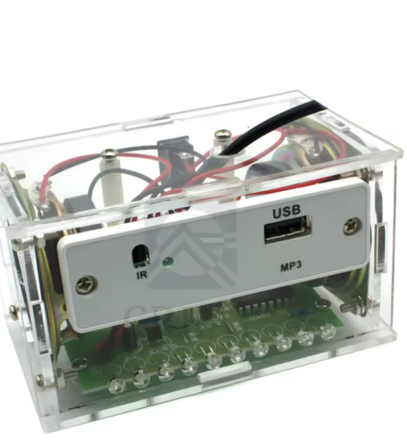
>> at long last, we enter the final stage!
it’s been a JOURNEY.
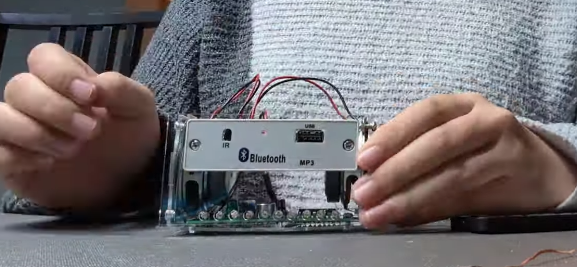
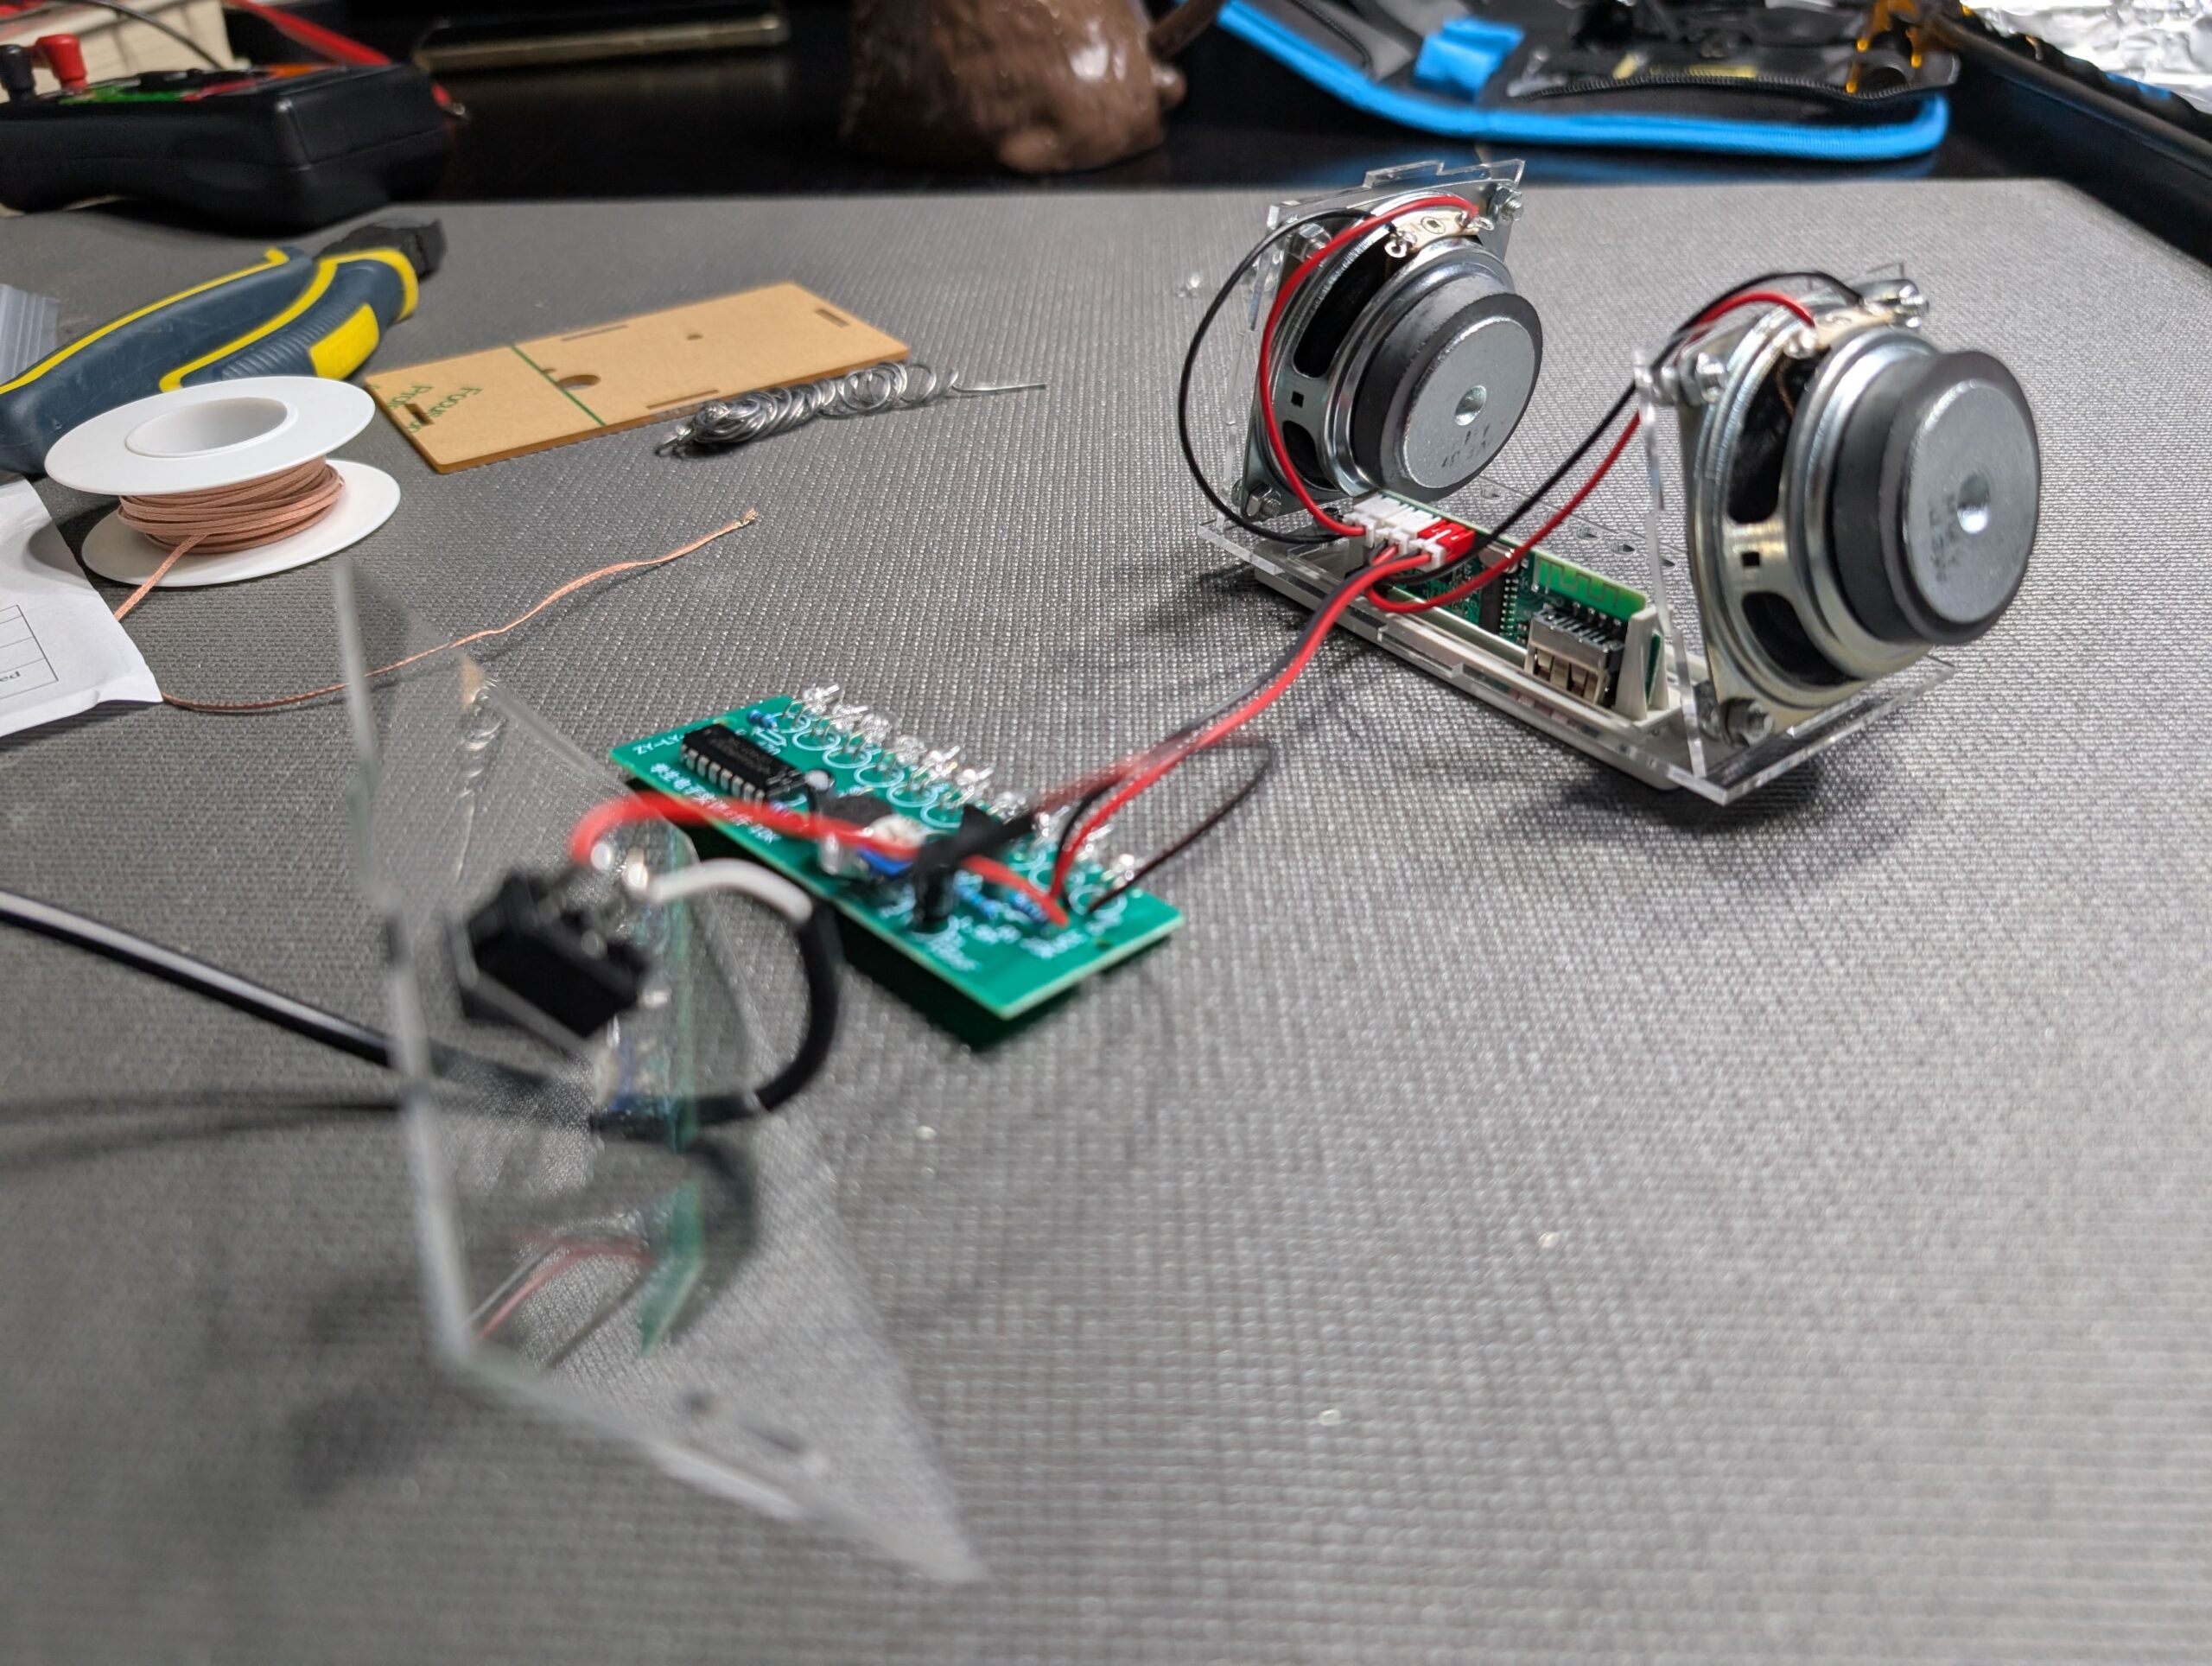
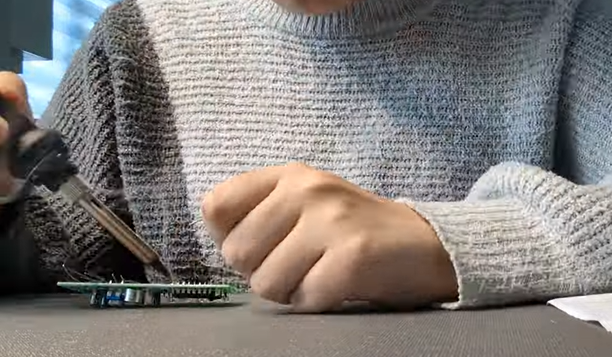
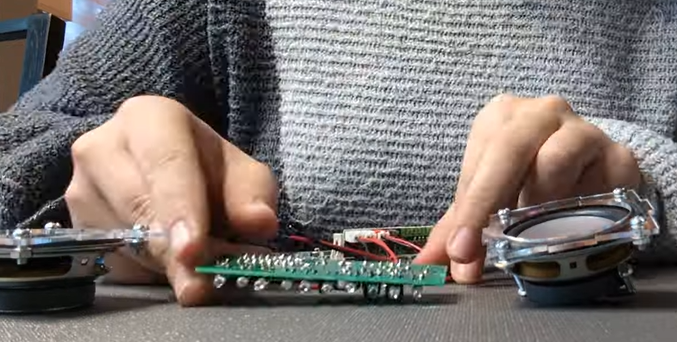
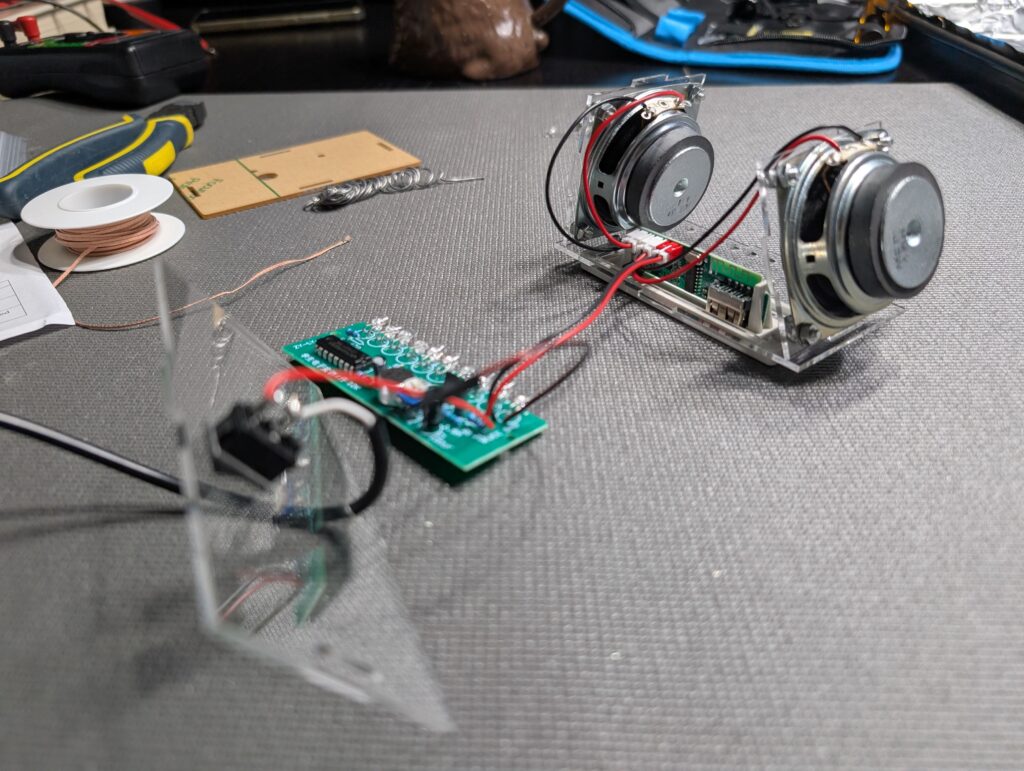
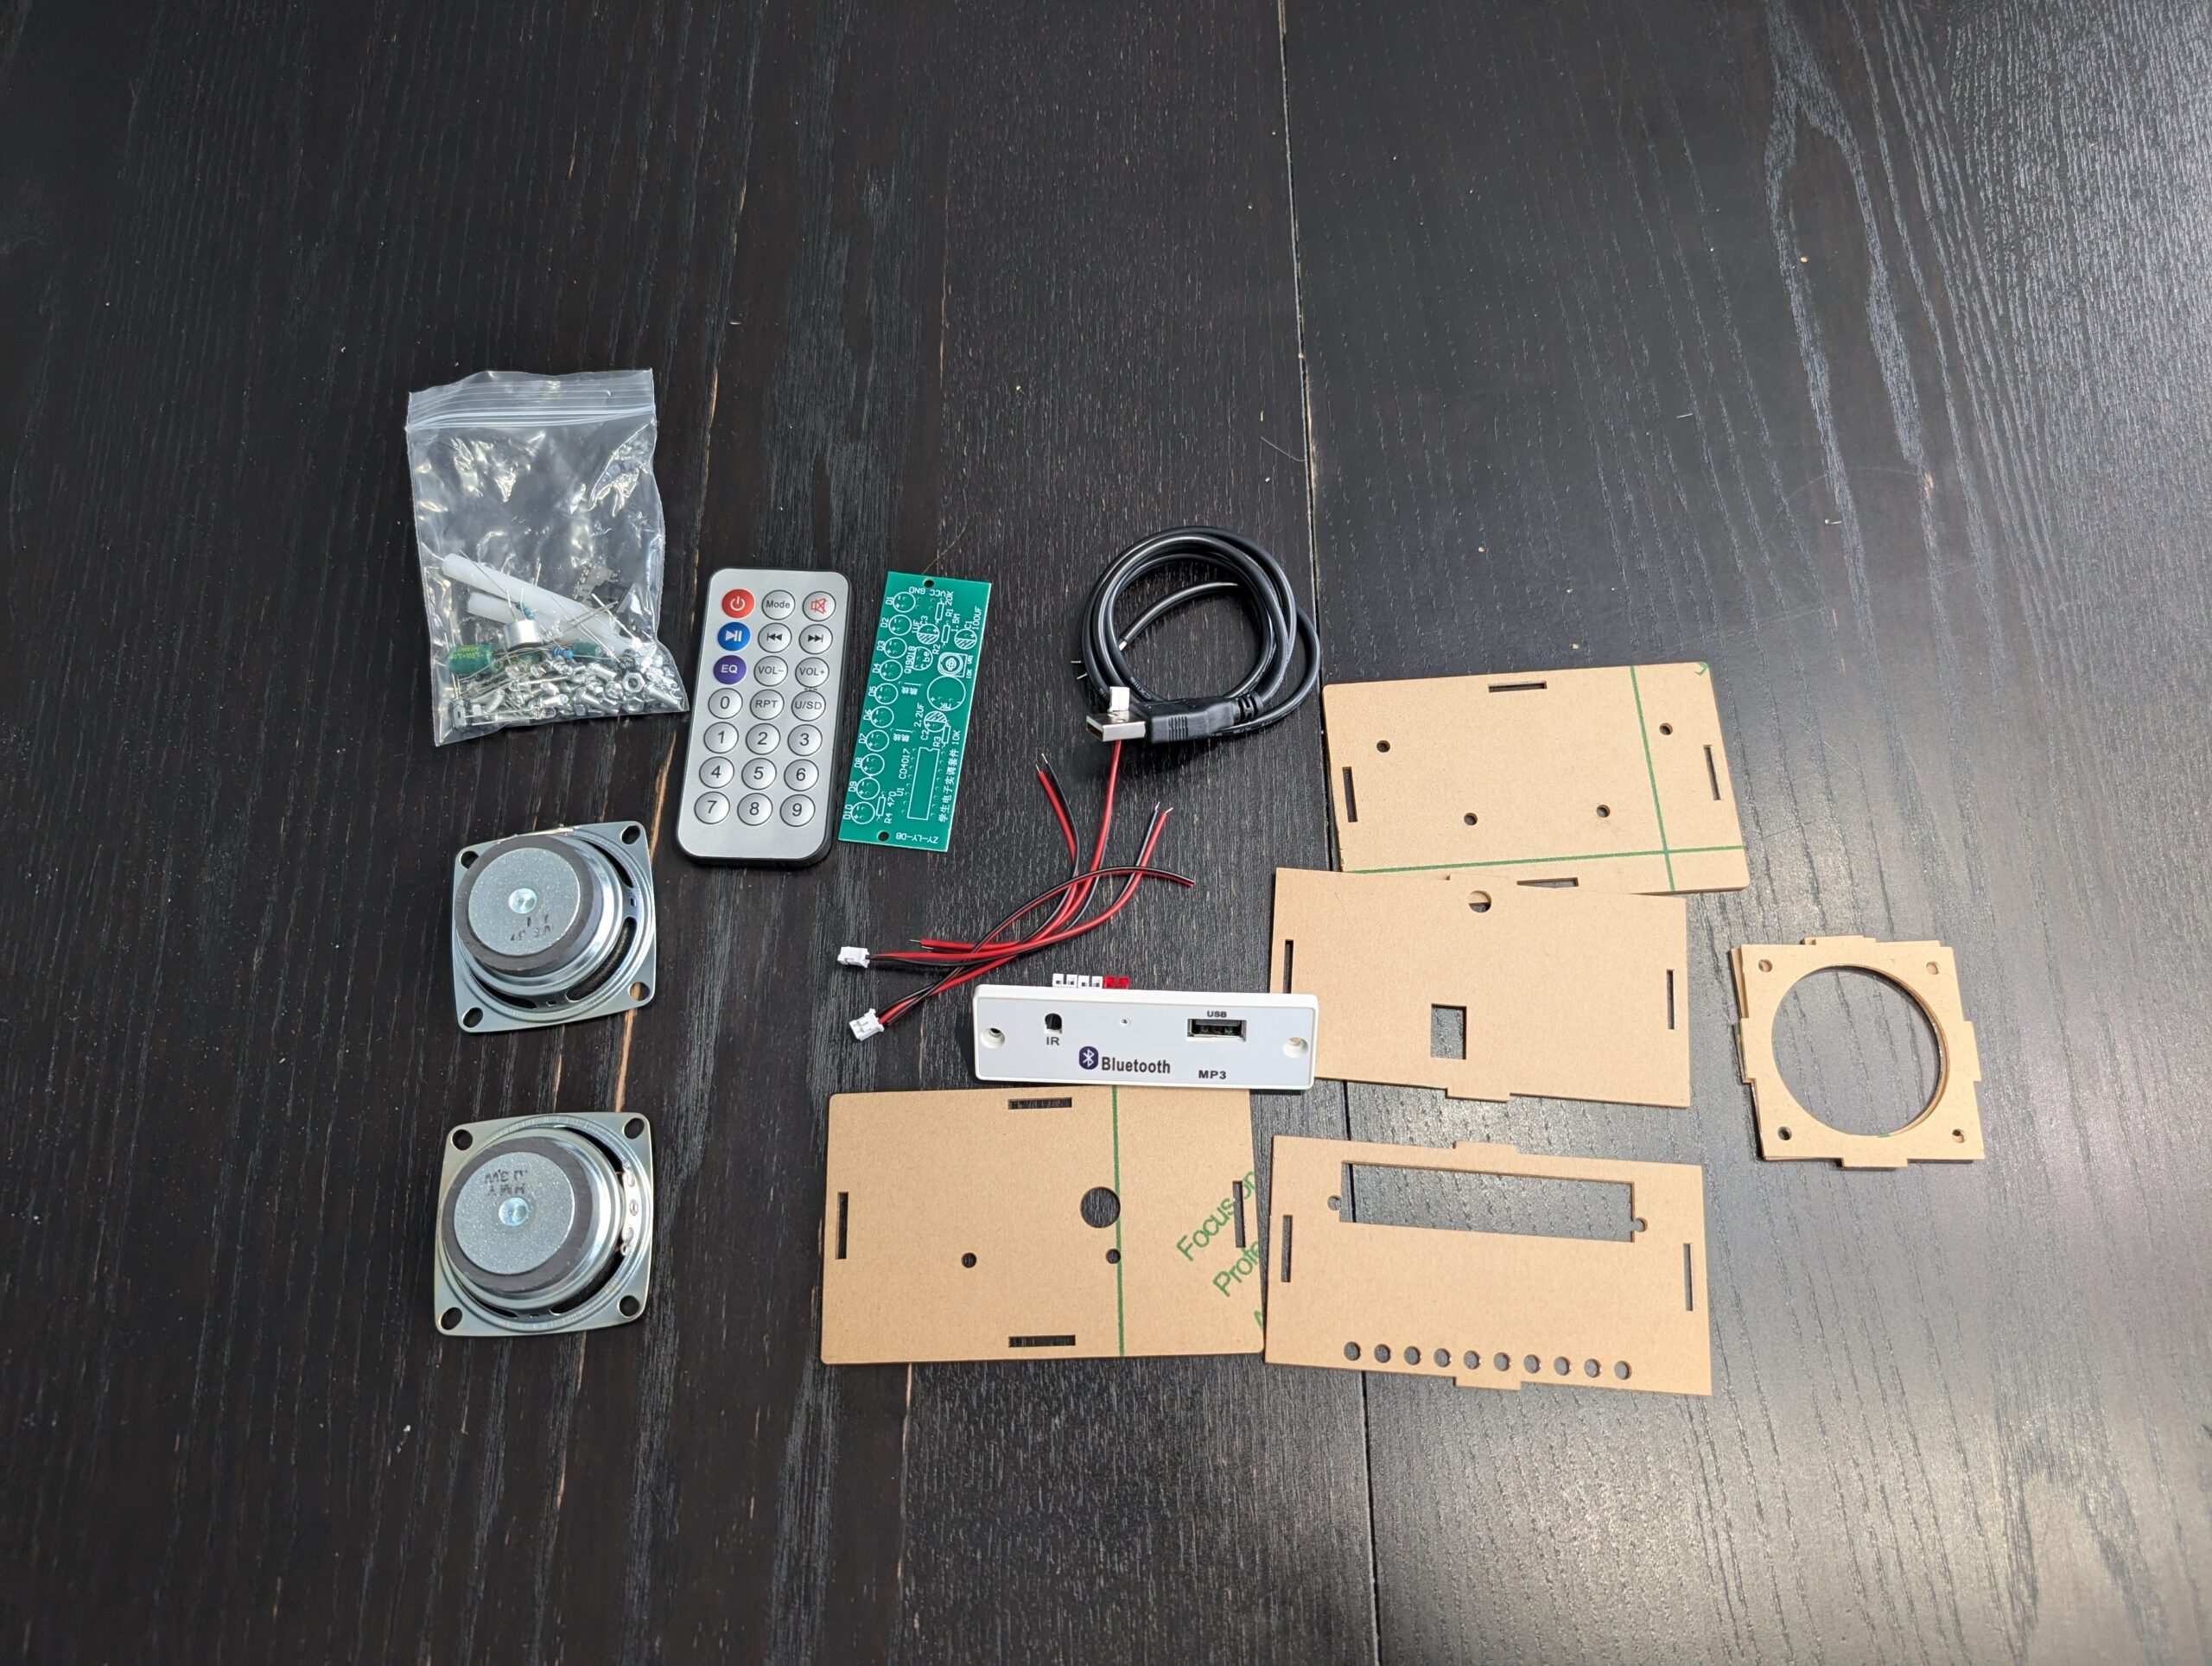
Now that all the innards of the speaker has been assembled, the casing needed to be built around it.
Btw I forgot to mention in the previous post but I tested out the bluetooth after soldering it, and it successfully connected to my phone!! It could play what I wanted!! Just like it’s supposed to!!
IT DIDN’T IMPLODE!! HOLY GOD IT DIDN’T IMPLODE!!
You might be thinking that this will be an easy final stretch. I thought so to.
Nope. Here’s how that went.
NUMBER 1
Due to my uneven solder on the PCB, placing a plastic cover on the bottom made the circuit board.. very.. crooked. Any harder would’ve cracked the plastic casing due to the tension.
NUMBER 2
Nothing stayed still. The speakers would topple over due to the sheer weight, the wires would tangle around the latches and force the PCB out of place, and the bluetooth would fall out of place when the walls fell apart from the speakers.
I got it eventually but DAMN it was sad.
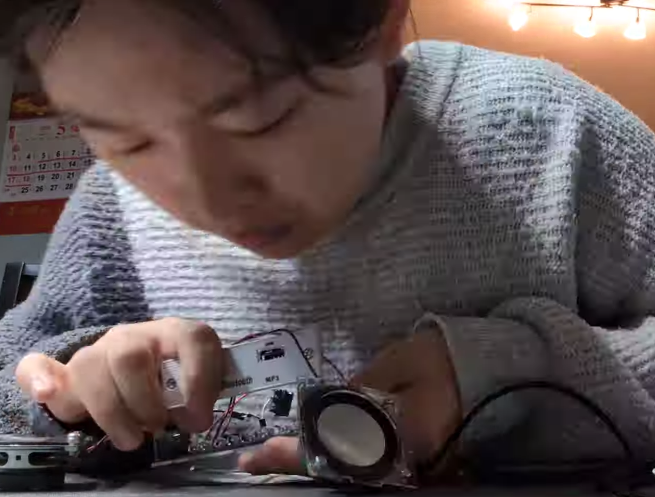
it fell apart again.
NUMBER 3
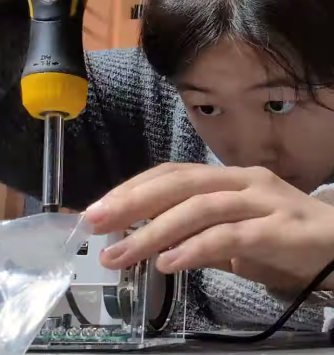
I have fat stubby fingers. Getting the pieces screwed in without disrupting the rest of the structure was a challenge, since one small knock could trigger the speakers to fall again which means… never mind.
But eventually… THE CASING STAYED!!!!! I plugged the USB cord into my power bank and..
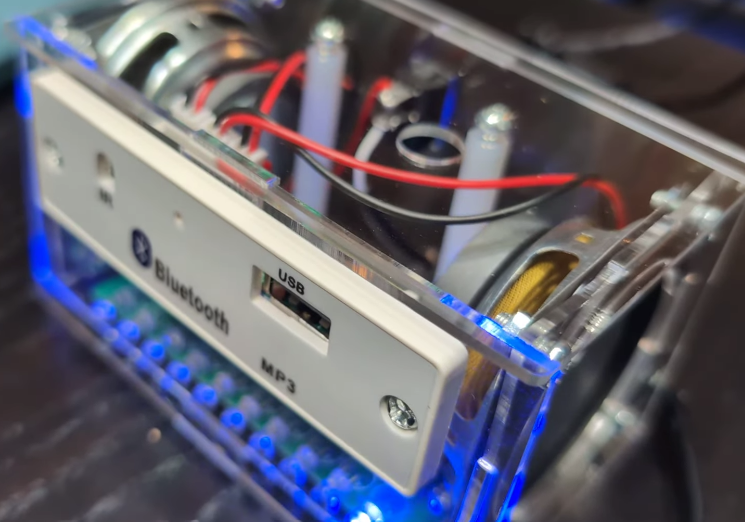
IT’S DONE!!!!!!!! I now use it every other day for jamming!!! OMG I SOLDERED AND ASSEMBLED THIS MYSELF?!? DQWOPKDWQPW
BEFORE I GO!!!!! I’d like to thank my hands for not giving up on me, my spine for tolerating my posture, and my dad who got me this kit and gave his endless support (aka the help line).
lookit me getting corny
OKAY bye bye I’m gonna go enjoy this piece of work now (≧∇≦)