yvonne's blueprints

amateur electrical engineering student & an avid artist

Category: Uncategorized

  • Final Assembly

    Final Assembly

    >> at long last, we enter the final stage!

    it’s been a JOURNEY.
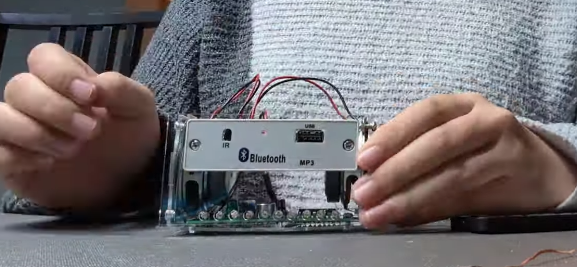
    Now that all the innards of the speaker has been assembled, the casing needed to be built around it.

    Btw I forgot to mention in the previous post but I tested out the bluetooth after soldering it, and it successfully connected to my phone!! It could play what I wanted!! Just like it’s supposed to!!

    IT DIDN’T IMPLODE!! HOLY GOD IT DIDN’T IMPLODE!!

    You might be thinking that this will be an easy final stretch. I thought so to.

    Nope. Here’s how that went.

    NUMBER 1

    Due to my uneven solder on the PCB, placing a plastic cover on the bottom made the circuit board.. very.. crooked. Any harder would’ve cracked the plastic casing due to the tension.

    NUMBER 2

    Nothing stayed still. The speakers would topple over due to the sheer weight, the wires would tangle around the latches and force the PCB out of place, and the bluetooth would fall out of place when the walls fell apart from the speakers.

    I got it eventually but DAMN it was sad.
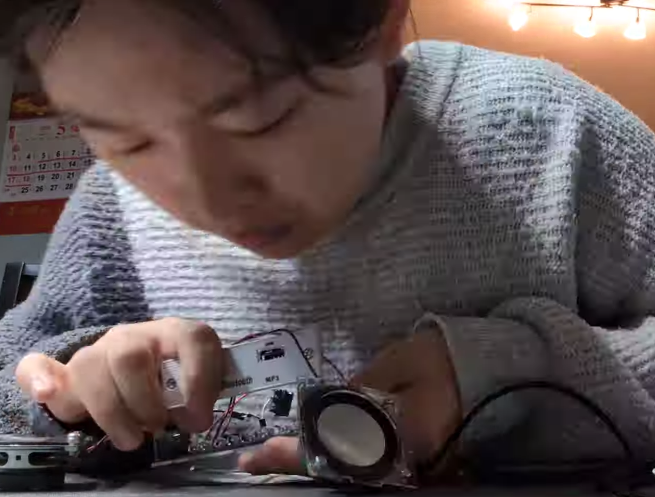
    it fell apart again.

    NUMBER 3
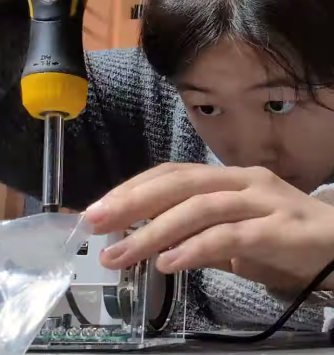
    see the face of concentration here..

    I have fat stubby fingers. Getting the pieces screwed in without disrupting the rest of the structure was a challenge, since one small knock could trigger the speakers to fall again which means… never mind.

    But eventually… THE CASING STAYED!!!!! I plugged the USB cord into my power bank and..
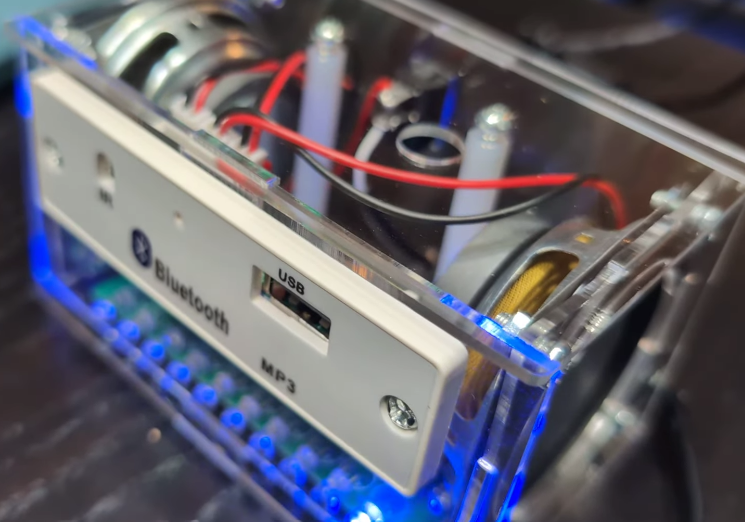
    RAHHHHHH IT WORKS I PLAYED FEARLESS BY LE SSERAFIM

    IT’S DONE!!!!!!!! I now use it every other day for jamming!!! OMG I SOLDERED AND ASSEMBLED THIS MYSELF?!? DQWOPKDWQPW

    BEFORE I GO!!!!! I’d like to thank my hands for not giving up on me, my spine for tolerating my posture, and my dad who got me this kit and gave his endless support (aka the help line).

    lookit me getting corny

    OKAY bye bye I’m gonna go enjoy this piece of work now (≧∇≦)
  • Soldering Time

    Soldering Time

    >> time to start soldering!

    • what she did
    • how she did it
    • what to do next time

    Now that all the pieces were placed, I could start soldering. With all the time I spent planning the pieces the day before, I feared for the worst and assumed I’d take the whole day again.

    guess what, I didn’t! it only took me 4 hours!

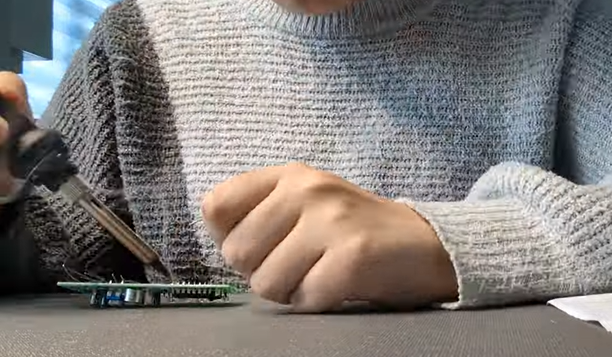
    I actually only soldered once previously, so this was kinda like review. My dad lent me his soldering kit, which even had a solder remover (which was a strip of.. I think copper). Once ventilation started up, I started soldering.

    Even though it kept oxidizing, I found soldering satisfying. There was a definite learning curve; I kept soldering too high and it would get stuck on the wire. As it went on I became a bit more merciless and pressed harder near the bottom of the wire.

    PCB didn’t like that, but it got the job done.

    I kept getting the solder stuck together (which would short circuit everything and be fried) so that wasn’t fun. Had to remove a lot of it (which was also a pain) and redo the section.

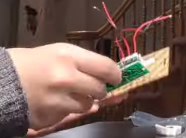
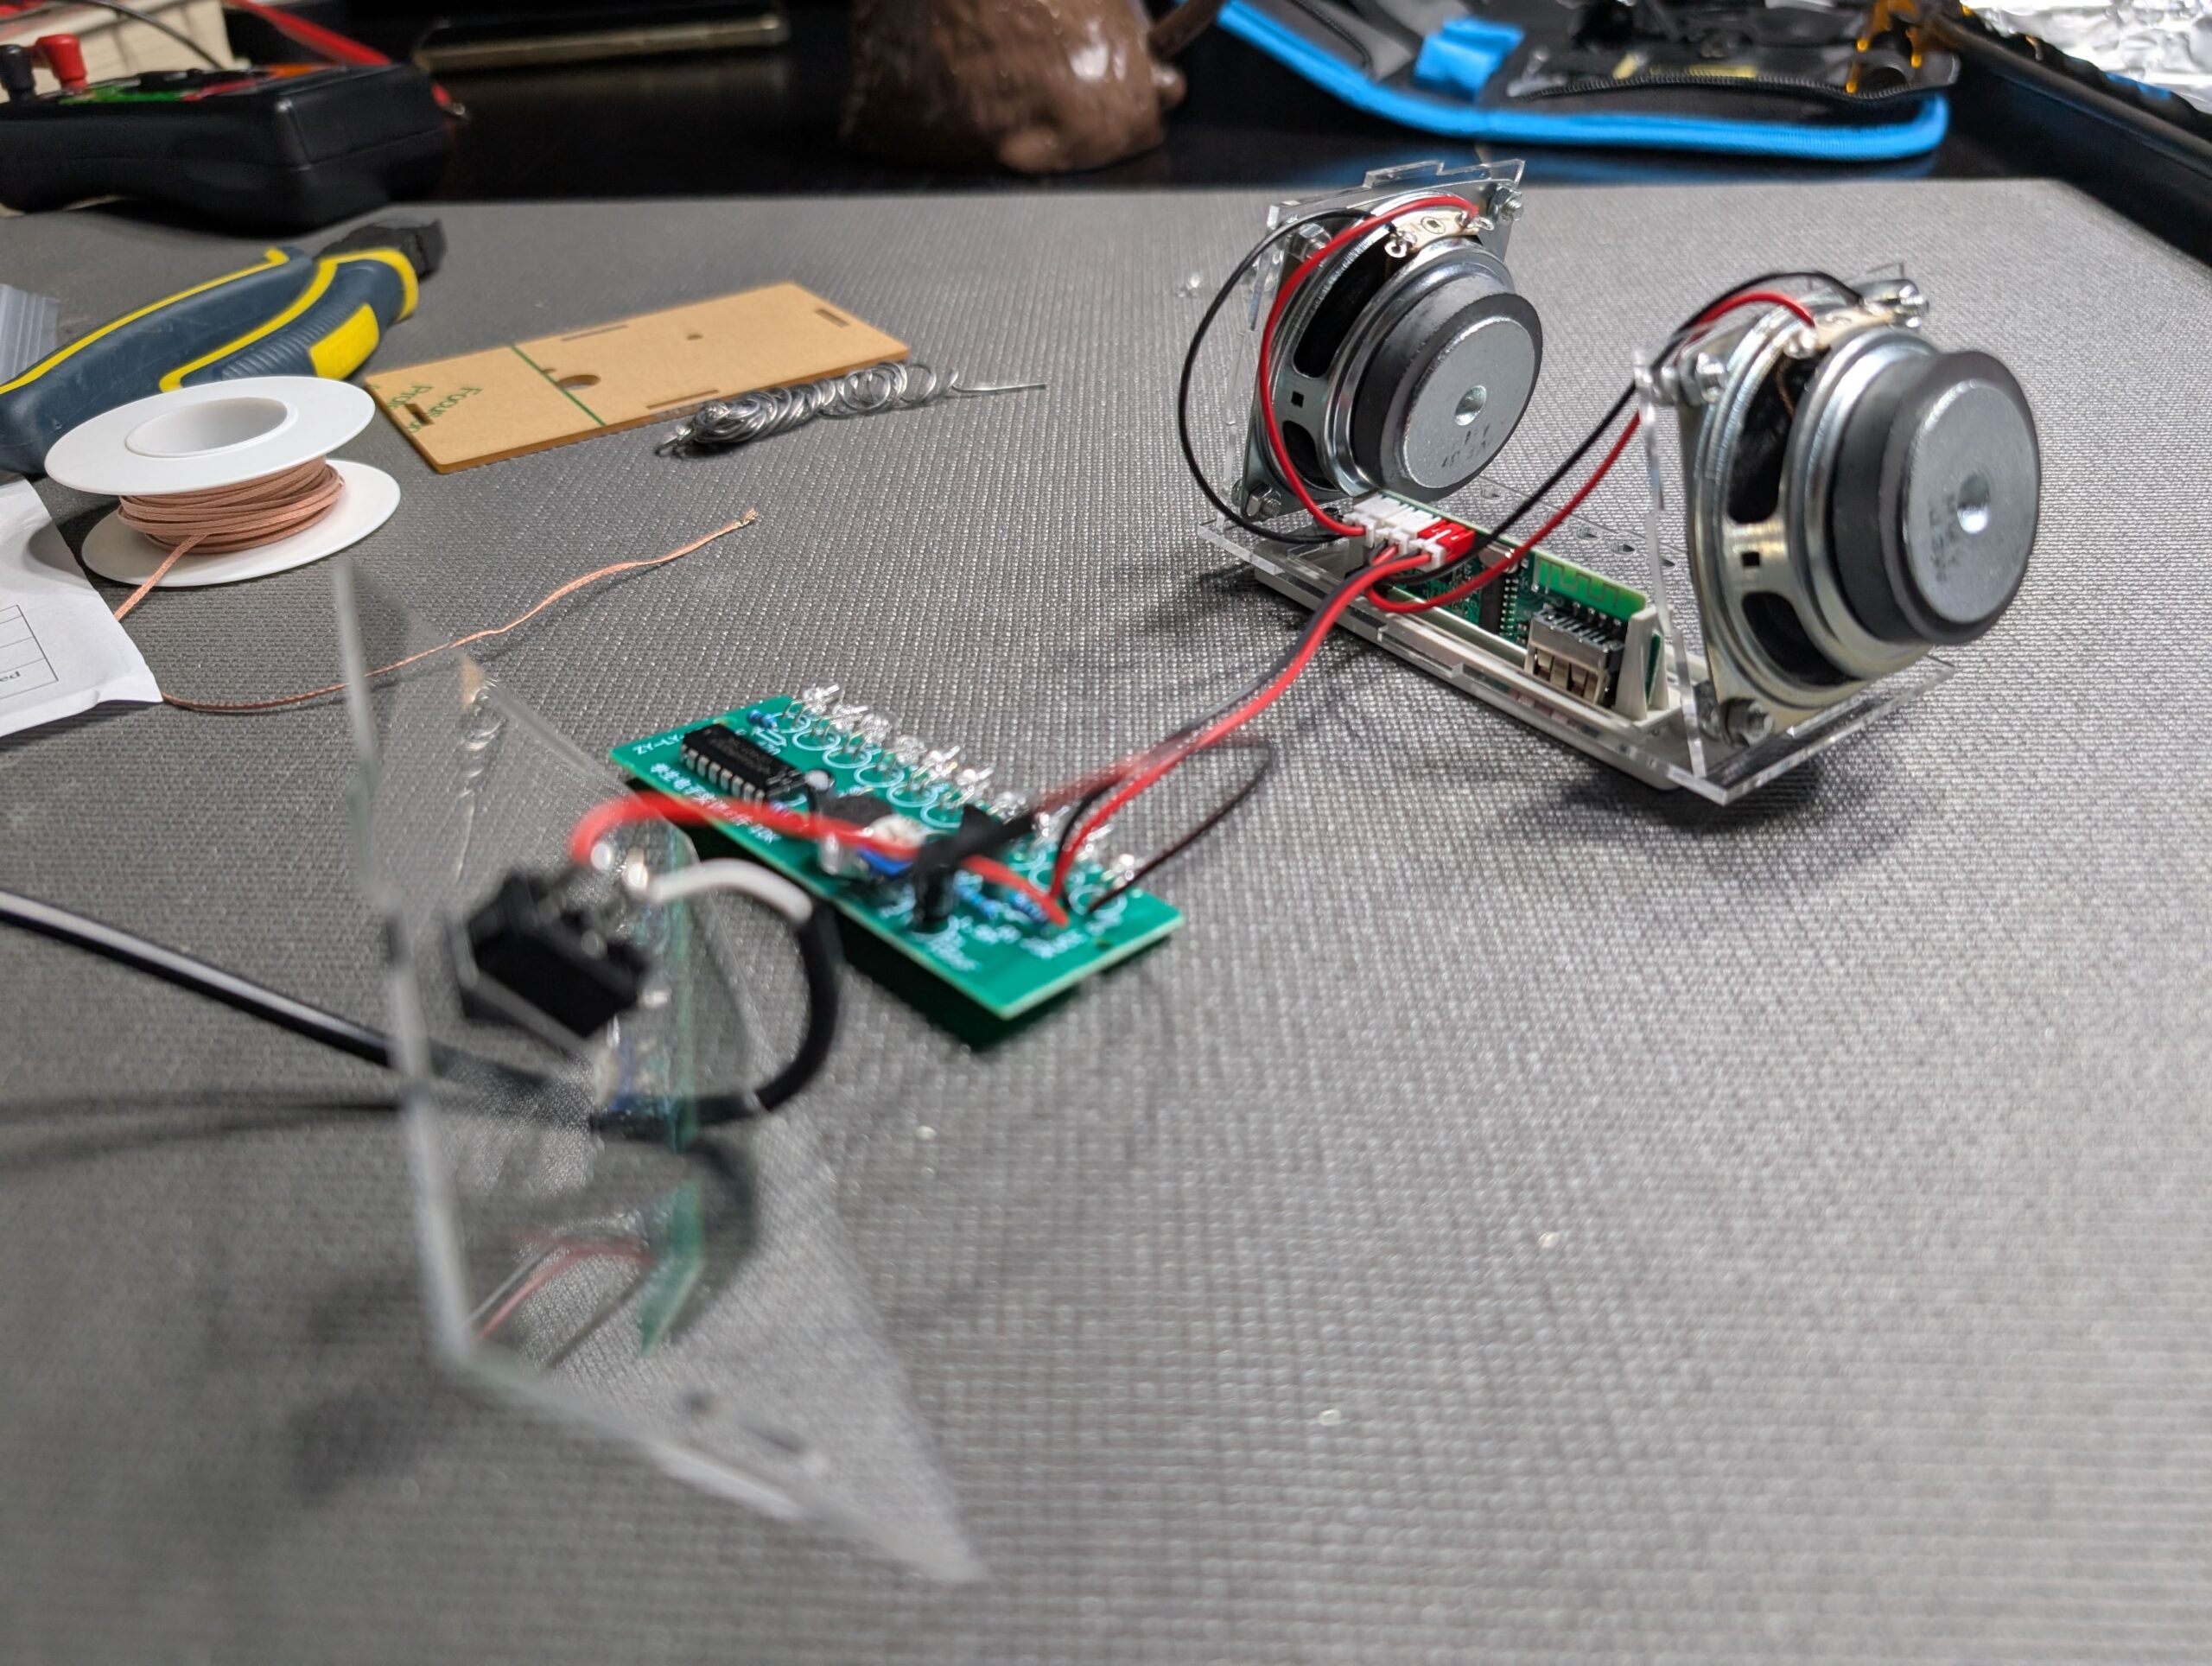
    Here’s what it looked like at the end!
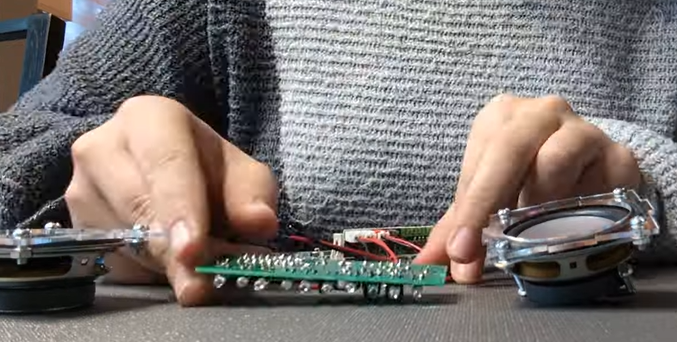
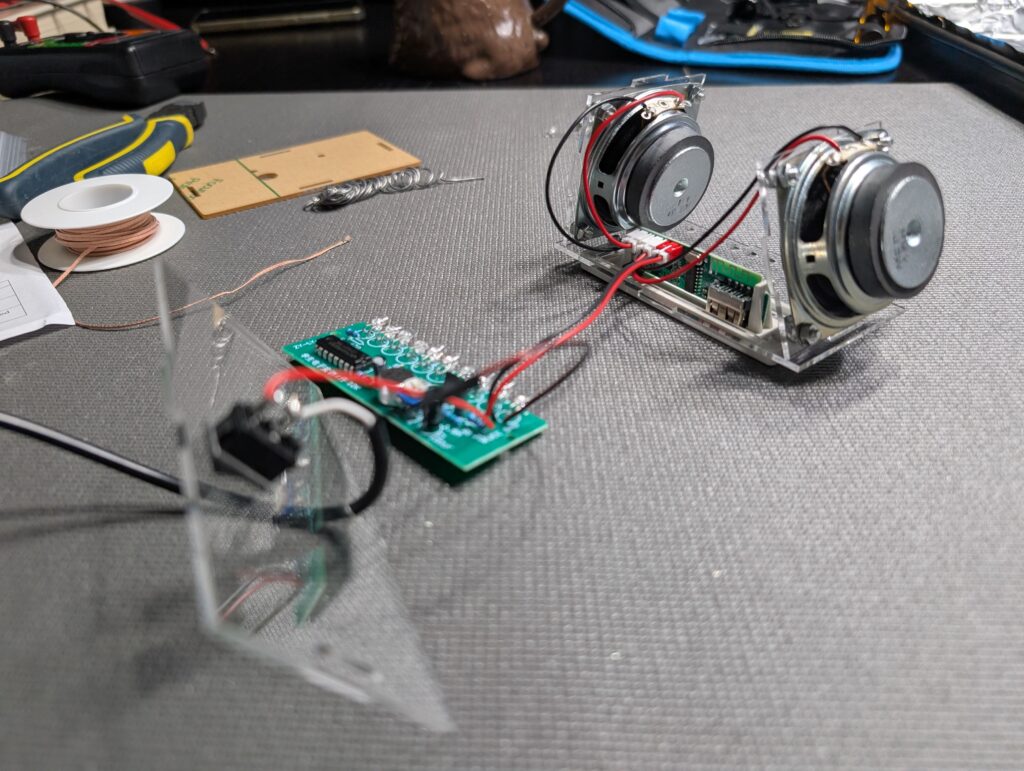
    I got the PCB soldered up with every piece and soldered the wires, speakers and bluetooth together.

    Otherwise, it was fun! Definitely recommend. Just wear a mask.

    TLDR: what did I learn?

    • soldering is hot. Hold the damn thing away from the nibs.
    • ensure wire is taken off FIRST. It’ll get stuck.
    • don’t add too much solder. It’ll get stuck and get fried.
  • Placing Everything Else

    Placing Everything Else

    >> moving onto the speakers, bluetooth, and everything else.

    this.. was the worst.

    now that the PCB piece was done, it was time to attach everything else.

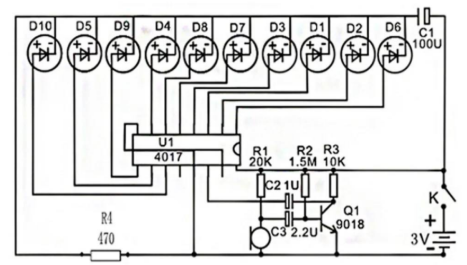
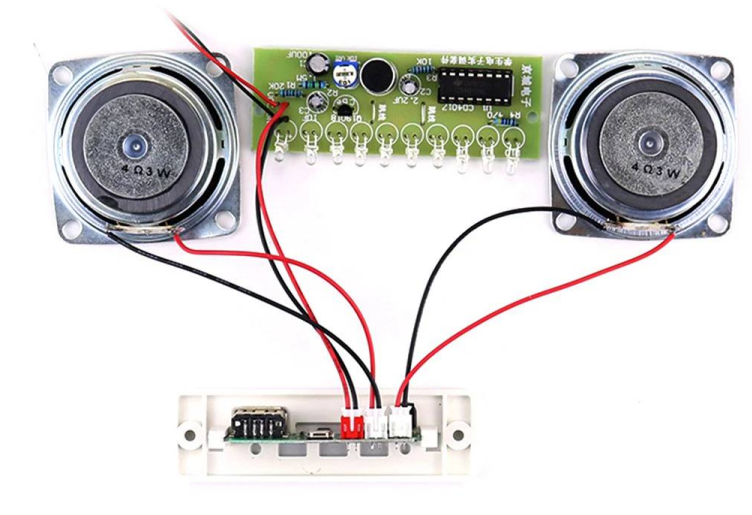
    The kit provided a schematic of the PCB and how it connected to the external parts, and I also had to roughly build the plastic case it came with to see how everything could fit.

    to all electrical engineers I know this is a simple schematic BUT I REALLY REALLY STRUGGLED OKAY

    This was HELL for the electrically-illiterate Yvonne.

    Just like a child who don’t know their left and rights, I didn’t know my negative and positive poles. I didn’t know where switch started and the USB cord (oh yeah there’s a US frickin B cord) ended. Don’t even get me started on the speakers and wires.

    I was this close.

    I’m attempting a Pokemon Nuzlocke right now, please indulge my pokemon

    With much consulting with chatgpt, gemini, google, father, I managed to lay out everything properly according to the schematic:

    • the speakers had to be soldered onto the jumper wires coming out of the Bluetooth
    • the switch was connected to the USB cord and to the PCB board’s connectors.

    This took much longer than it sounded. To test the switch’s polarity, I used a multimeter with the USB plugged into my computer to check when it turns on.

    I also figured out much later the kit had an online file with the god-forsaken layout given already. (OH WELL. WE BALL I GUESS!?)

    I had thought the first day was bad; this day took almost 6 hours.

    TLDR; what did I learn?

    • Find. An. Existing. Layout.
    • Multimeters are your best friend.
    • I need to read schematics.
  • First Encounter

    First Encounter

    >> For my birthday, I received a Bluetooth speaker kit.

    • what she did
    • how she did it
    • what went wrong
    • what to do next time

    My dad, also an electrical engineer, thought that this would be perfect for me to practice assembling parts; and he also thought having my own speaker is a plus as well. I mean, he’s not wrong; and for 20 bucks on AliExpress, it’s a pretty good deal.
    I love DIY projects, but this was a beast.

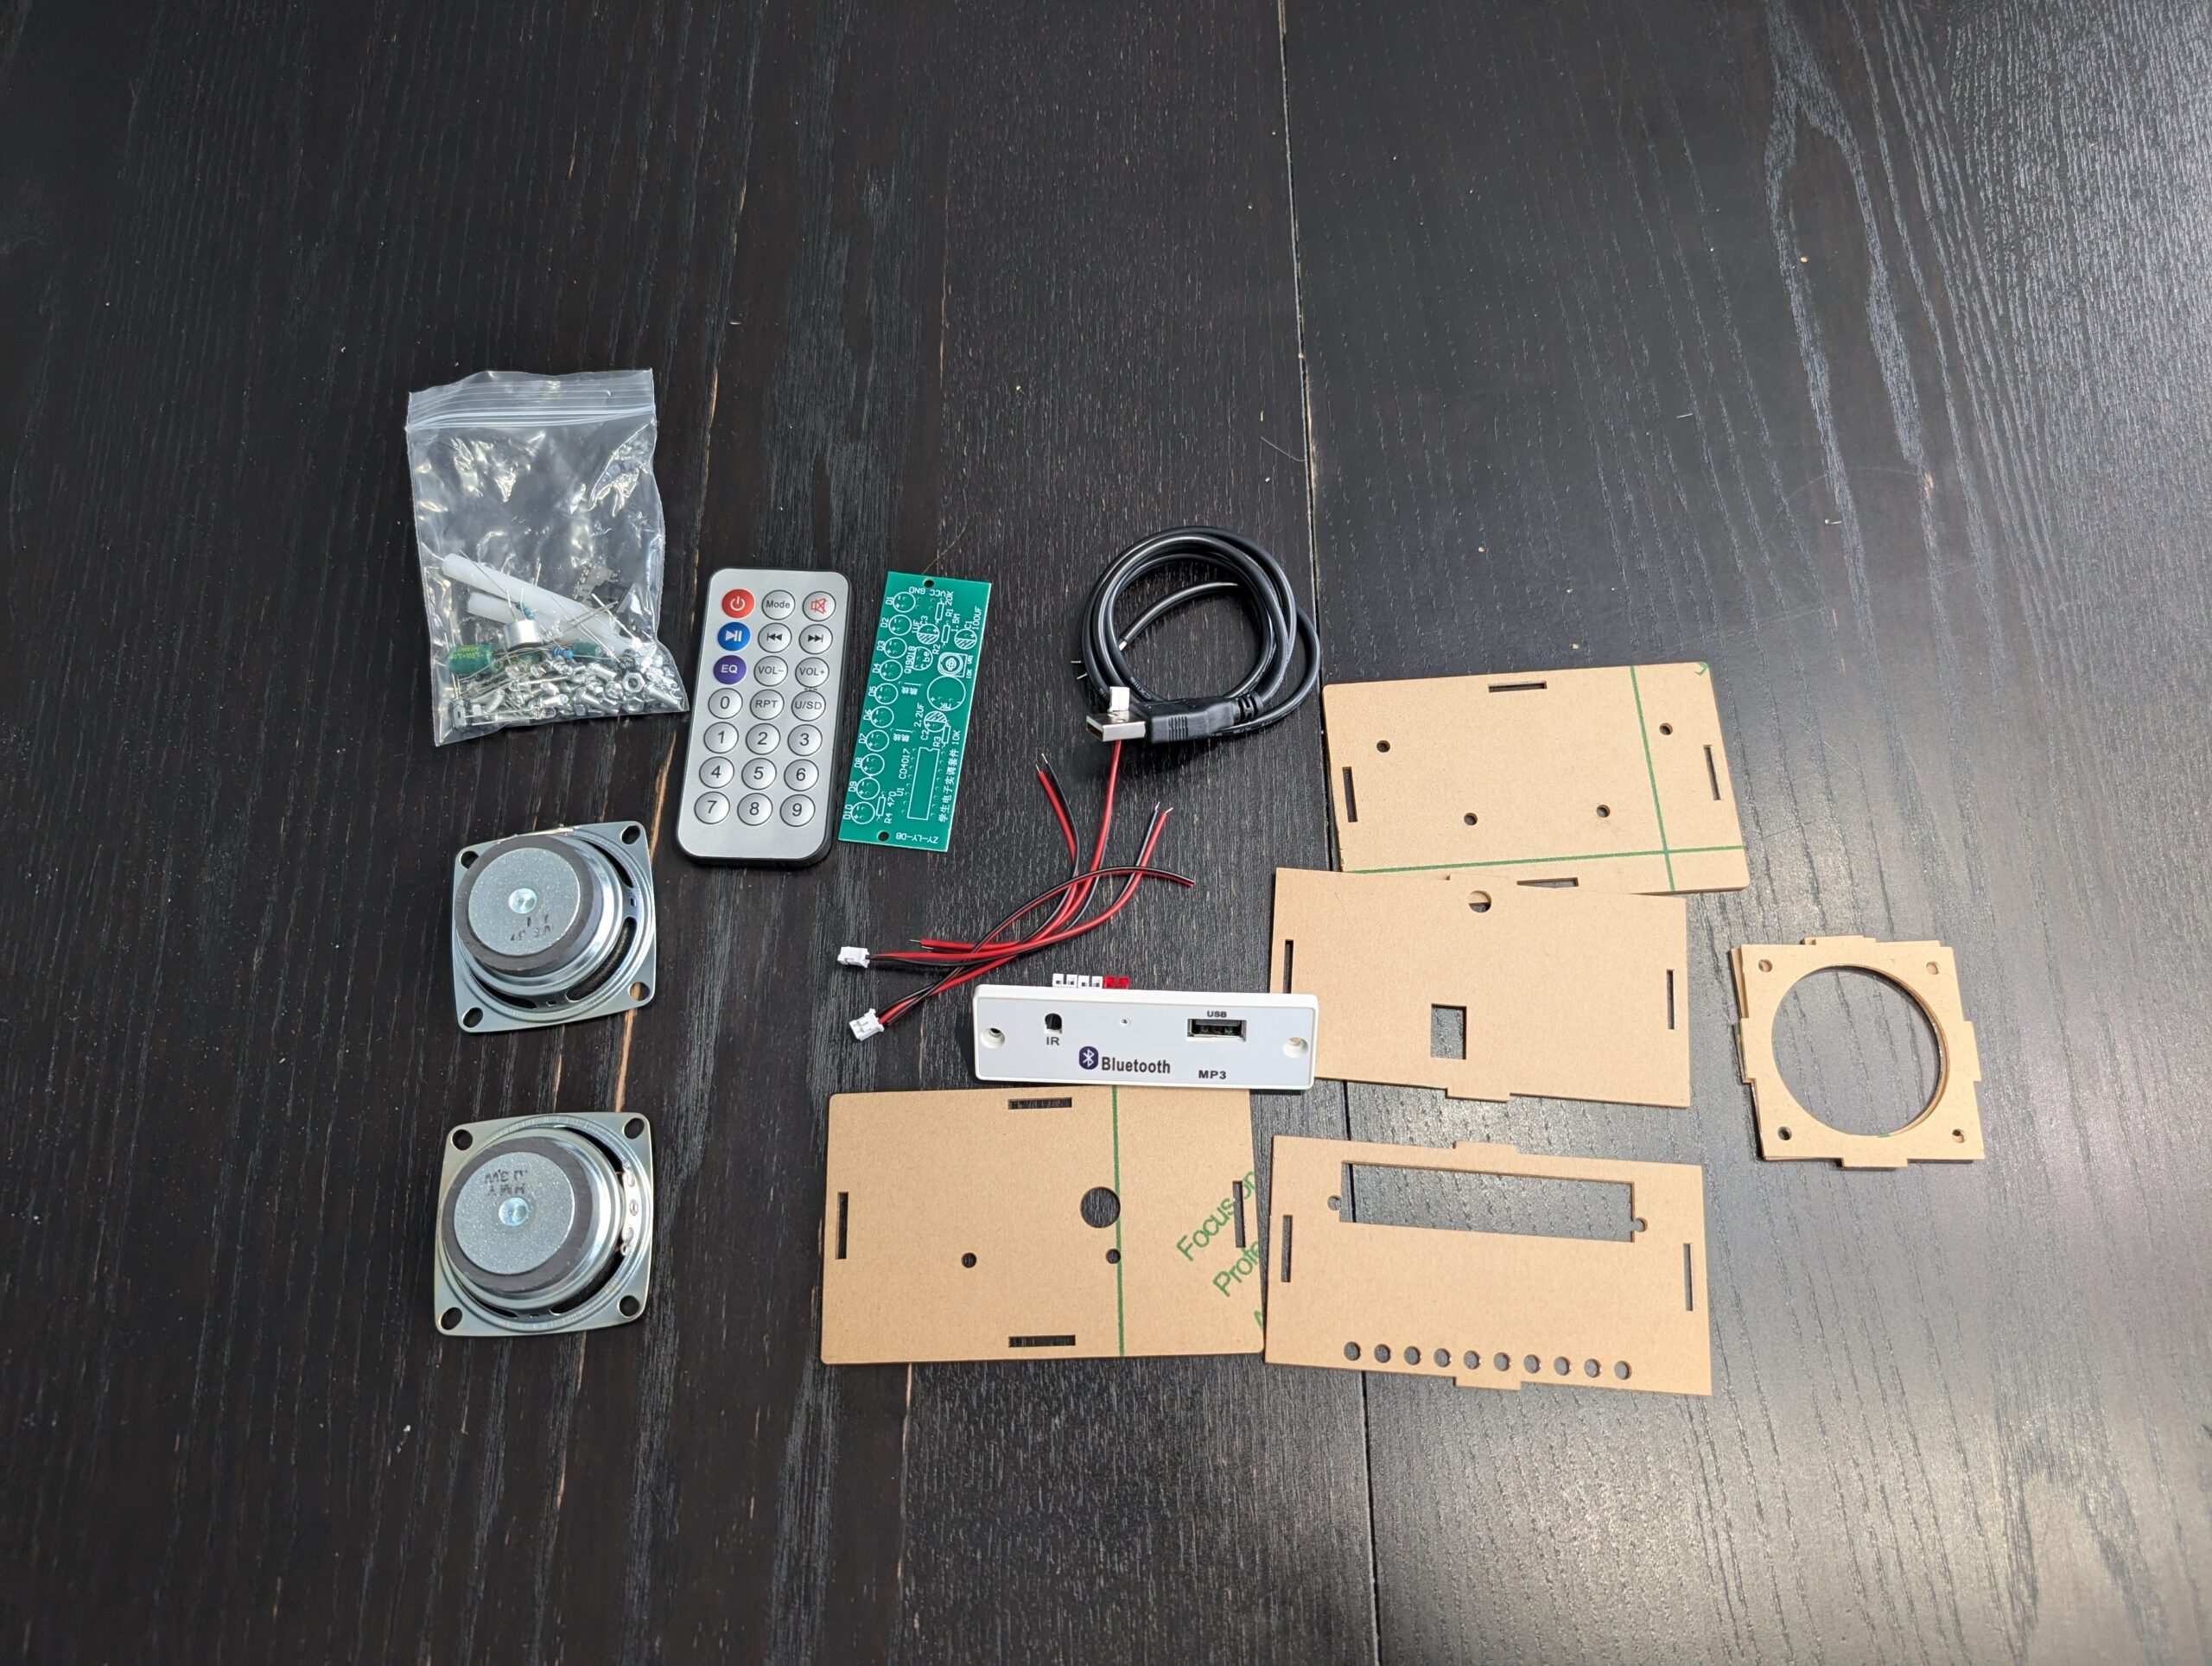
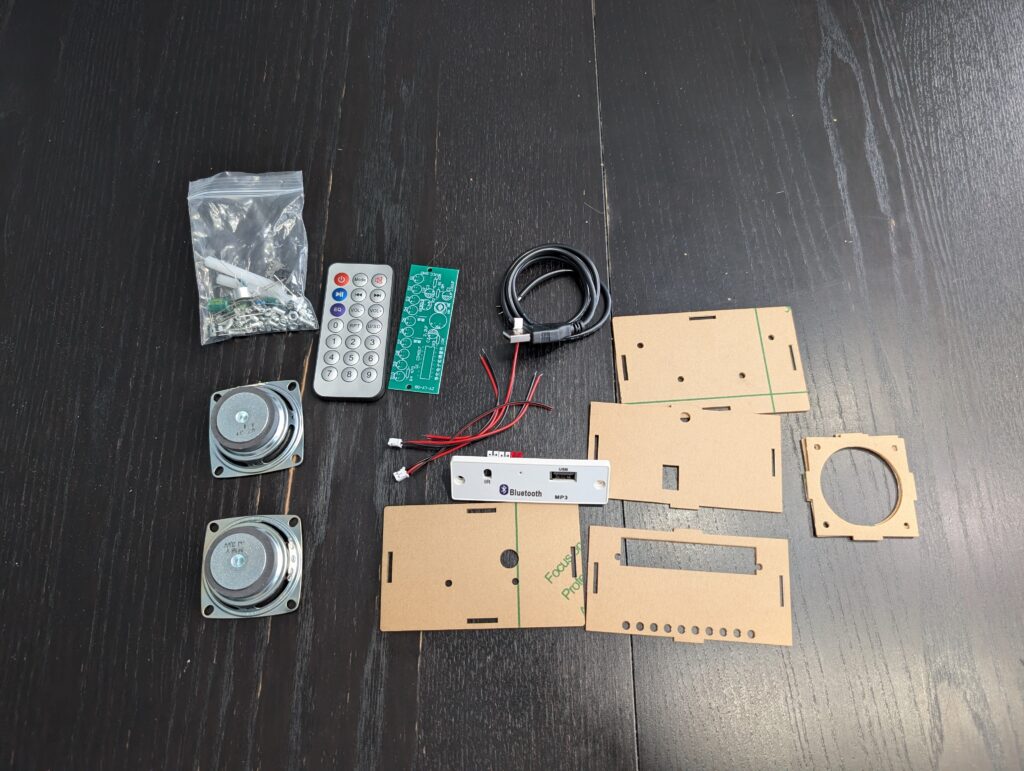
    The kit came with a circuit board and its circuit parts, two speakers, a Bluetooth receiver, a switch, jumper wires, and plastic casing for the outer shell. The kit itself didn’t require designing (thank god) and only needed the parts to be soldered together, then assembled via screws and casing.

    The first task of the day: placing and identifying parts on the circuit board. “Not too bad” was my first thought.

    This took me 3 hours.

    I’m.. being very vulnerable here..

    Yvonne???? How did this happen????

    WELL.

    NUMBER 1:

    I kept checking the polarity of the BJTs, capacitors, the IC, and the microphone, knowing well it might explode if I had it on wrong. (I’m reminiscing the smell in my circuit lab..)

    NUMBER 2:

    I was also furiously checking the resistor color bands. This is because I once put a 100K Ohm resistor thinking it was a 10 Ohm resistor.. never again.

    NUMBER 3:

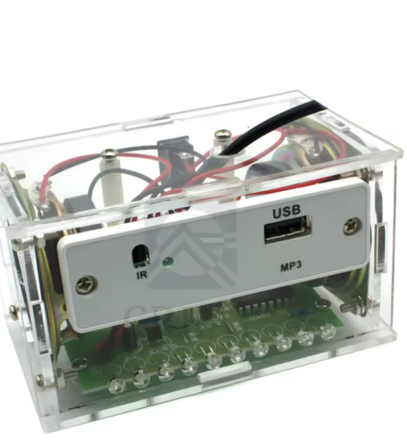
    And the LEDs; there were SO MANY OF THEM so I was putting them on manually while also checking polarity of those, but I ended having to redo it 3 times. Because the PCB board is nested at the bottom of the speaker, the LED lights needed to be bent a certain way to be seen..

    this image might explain this better than me lmao

    <—– this guy
    The LEDs are inserted then bent 90 degrees to face outwards
    a PAIN in the ASS to measure..

    NUMBER 4:

    The wire trimming. I wasn’t going to get to soldering today (I’d already accepted that fact (´。_。`) ), so I needed to prep the wires by shortening them.
    I learned today that airborne wires are particularly drawn to my unprotected, unscathed face. It was, respectfully, a warzone.

    Needless to say, I was very humbled.

    TLDR; what did I learn?

    • wear protective gear. That’s on me. I forgot basic lab safety.
    • check twice, place once. I’d rather spend more time on one piece than taking everything apart later..
    • maybe memorize resistor colors.. this will save me time in the long run.
  • Heart Soldering Workshop

    Heart Soldering Workshop

    >> missed out on the workshop last year, had the privilege of going this time!

    Hosted by the lovely Women In Engineering and the IEEE Society at McMaster.

    Aka my first exposure to soldering!

    My first exposure to toxic fumes!

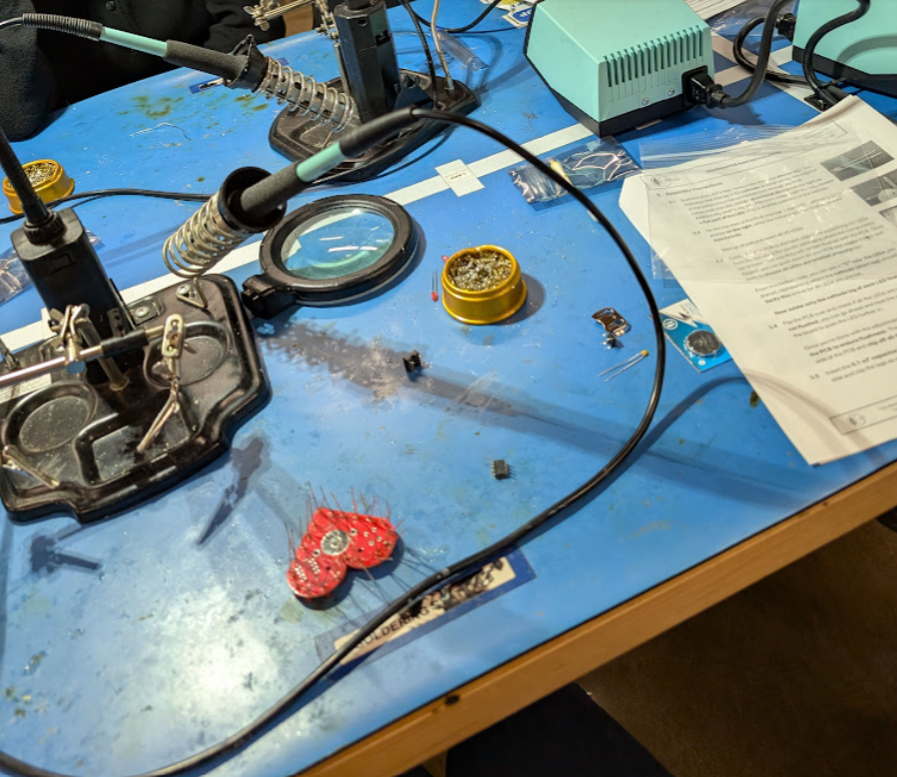
    the workspace! some soldering there, some ventilation here, and some instructions

    I needed a nice break of the freezing winds and midterms season. The PCB design indulged me with the cutest design for Valentine’s Day, and it was the perfect opportunity to TRY and apply something I’ve learned in EE so far.

    basically an excuse to solder a cute beating heart lol

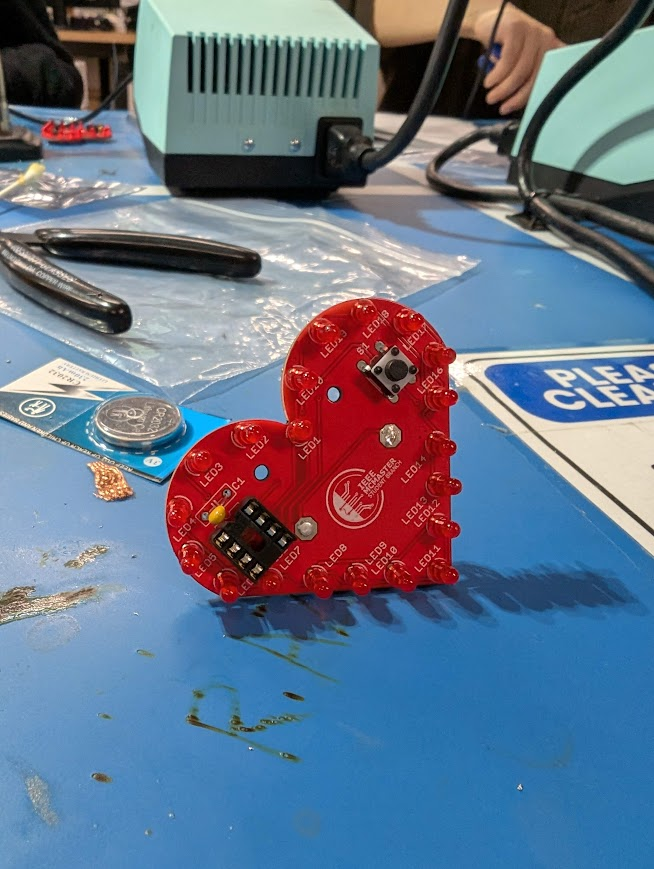
    We were given the PCB, LEDs, integrated circuit, button, battery/battery holder, and capacitor.

    After soldering on the internal components, the battery holder needed to be soldered on at the very end. It was the hardest part since it kept slipping and sliding as if it were on club penguin.. but we (the workshop leads and I) managed!

    THE FINISHED PRODUCT!

    This now hangs on my desk as a fidget toy (that pierces you in the back).

    I feel like a moth drawn to pretty circulating lights.

    I sent this to my friends promptly after.